Fermented Chilli Sauce: A Beginner’s Guide (UK)
Part of the Fermentation & Preserving Guides hub.
Fermented hot sauce delivers a deeper, rounder flavour than straight vinegar sauces—thanks to lactic acid, gentle funk and natural complexity. Here’s what makes it special, the kit you actually need, and the key safety basics, without giving away a full recipe.
Quick answer
A fermented chilli sauce starts with chillies and salt (and sometimes garlic or other veg) packed into a jar and left to ferment so lactic acid bacteria can sour the mash over days or weeks. Once it’s tangy and flavourful, you blend and finish it into a pourable sauce—often with a little vinegar and water. The critical safety points are: weigh ingredients, use the right salt percentage, keep solids fully submerged under brine and discard any batch that develops fuzzy mould or rotten odours.
Free Fermentation Safety Checklist
If you’re new to fermenting vegetables and chilli mashes, get my Fermentation Safety Checklist (PDF) to avoid common mistakes with salt, brine and surface growth.
Get the Free ChecklistWhy ferment your hot sauce?
You can make a perfectly good chilli sauce by simmering chillies with vinegar and blending—so why bother fermenting?
- Deeper flavour: Lacto-fermentation softens harsh heat and builds tangy, savoury depth that straight vinegar can’t match.
- Balanced acidity: A well-fermented mash is already naturally sour, so you often need less added vinegar at the end.
- More complexity over time: Flavour continues to develop as the fermented sauce matures in the fridge.
- Customisable: You can build smoky, fruity or garlicky profiles by changing chillies and add-ins.
The basic kit (keep it simple)
You don’t need fancy crocks or specialist gadgets. For small-batch fermented hot sauce, you can get started with:
- Clean glass jar: A clip-top or screw-top jar works well for chilli mash ferments.
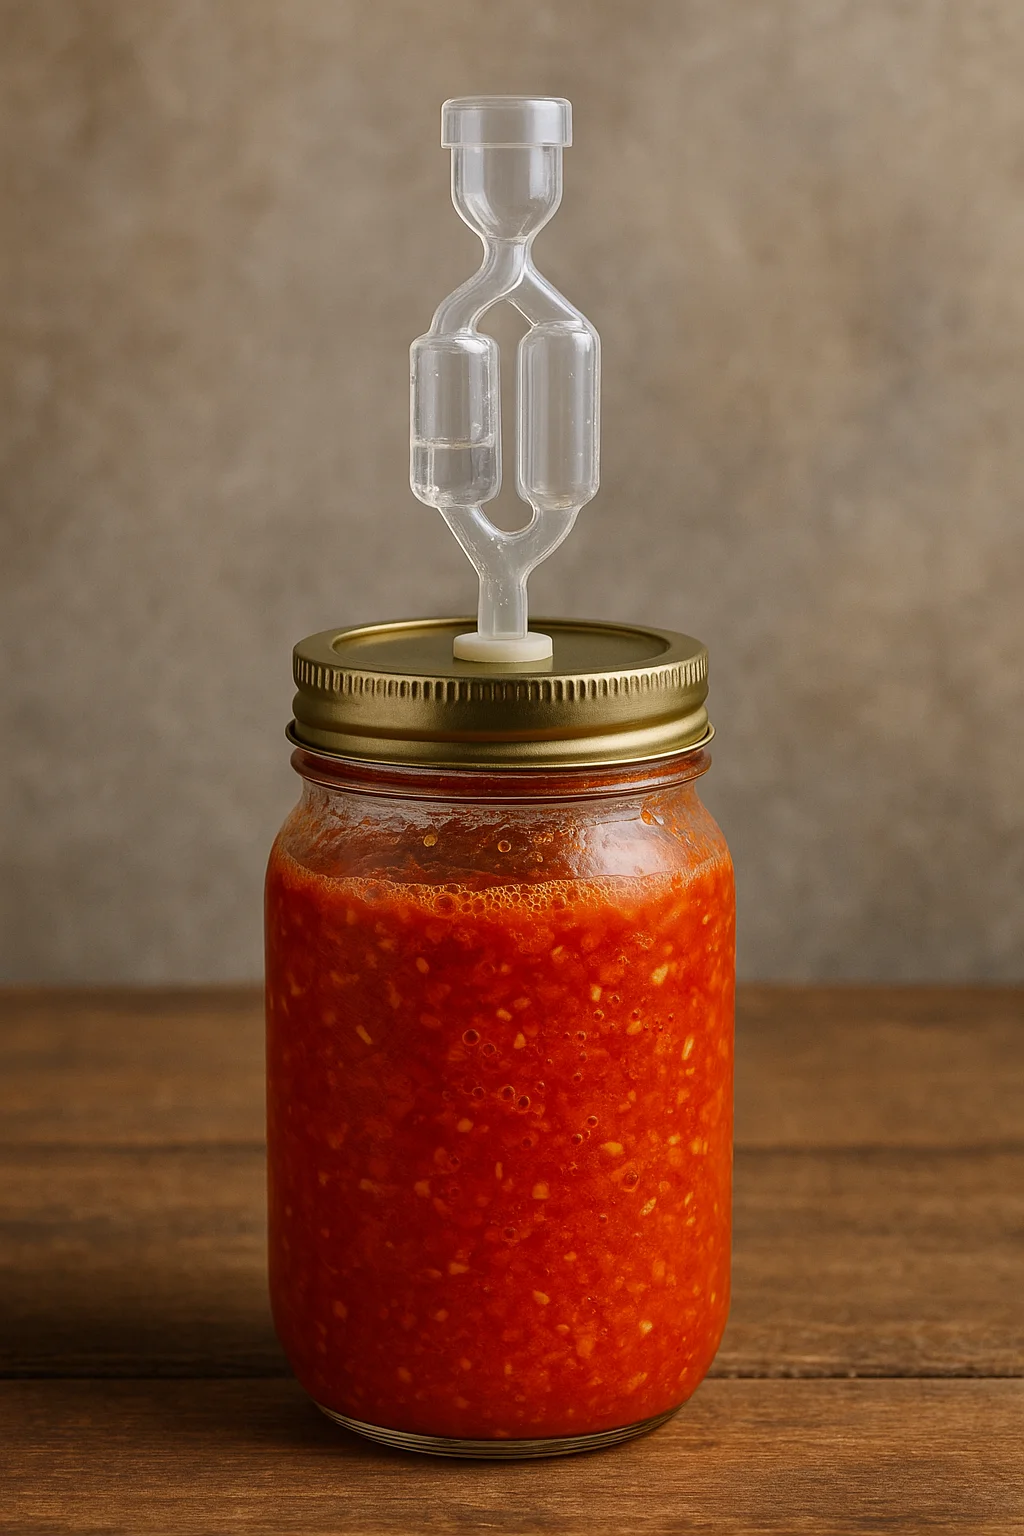
- Airlock or loose lid: To let CO₂ escape without letting dust and flies in. A loosely fitted lid is fine for most beginners.
- Non-iodised salt and a digital scale: So you can hit an accurate percentage based on the weight of chillies (and any other veg).
- Blender: To turn the finished mash and brine into a smooth sauce later.
- Optional pH strips/meter: Helpful for checking that your finished sauce is nicely acidic.
From chillies to sauce: the high-level stages
This is not a full recipe—just the overall flow so you understand what’s happening at each stage.
- Prep the chillies: Remove any spoiled fruit, rinse if needed and trim stalks. Keep seeds in or remove them depending on the heat and texture you want.
- Weigh and salt: Weigh your prepared chillies (plus any garlic or veg), then calculate salt based on a suitable percentage of the total weight.
- Pack and submerge: Pack the salted mixture into a jar and ensure everything is pushed below the brine that forms. Use a weight if needed.
- Ferment: Leave the jar at room temperature (not too hot) until it’s pleasantly sour and aromatic, watching for normal signs like bubbles and a tangy smell.
- Blend and finish: When you’re happy with the ferment, blend the mash with some brine and optional vinegar/seasonings to reach the flavour and thickness you like.
- Bottle and chill: Store in clean bottles or jars in the fridge. Flavour and aroma will continue to develop over time.
What does a healthy ferment look and smell like?
- Normal signs: Small bubbles, a lightly tangy or slightly funky aroma, brine level rising and then settling, and possibly a thin, flat white film (yeast) on the surface if exposed to air.
- Warning signs: Fuzzy, hairy or brightly coloured growth on the surface; strong rotten, cheesy or chemical smells; slimy texture; or significant discolouration that wasn’t there at the start.
A good ferment should smell appetising in a savoury way—hot, tangy and chilli-forward. If your nose says “no”, respect that and bin it.
Flavour paths to consider
Once you understand the basics, you can steer your sauces in different directions:
- Smoky garlic: smoked chillies plus roasted or fresh garlic for a rich, BBQ-friendly sauce.
- Tropical: Scotch bonnets with pineapple or mango and a hint of lime zest.
- Red classic: ripe red chillies with a touch of tomato or red pepper for body.
- Green & bright: jalapeños, coriander stems and lime for a fresher, greener profile.
Fermentation vs pickling (quick context)
Many shop-bought hot sauces are vinegar sauces: chillies cooked or blended with vinegar, then bottled. Fermented sauces take a different path.
| Aspect | Fermentation | Pickling / vinegar sauce |
|---|---|---|
| Acidity source | Produced by microbes during fermentation | Added directly (vinegar) |
| Time | Days to weeks | Immediate to 1–2 days |
| Flavour | Complex, evolving, often deeper and rounder | Bright, sharp, more one-note |
For a full comparison, see Pickling vs Fermentation: What’s the Real Difference?
Not sure if it’s safe?
Safe Home Fermentation (PDF) is a safety-first decision guide for judging real ferments when something doesn’t look, smell, or behave as expected.
View the guideWant exact ratios, timelines and troubleshooting?
My chilli and hot sauce books walk through weighed salt percentages, day-by-day fermentation, blending, bottling and storage, using UK measurements and supermarket ingredients.
Get the full method, ratios & troubleshooting
For exact salt percentages, pH targets, fermentation timelines, bottling and safe storage, grab these:
Fermented Hot Sauce — The Complete Beginner’s Guide Chillies — History; Growing; Using
UK methods, plain English, step-by-step guidance.Summary
Fermented chilli sauce starts with a simple idea: salt your chillies, let microbes do their work, then blend the tangy, fermented mash into a sauce. The payoff is bigger flavour and more depth than a straight vinegar sauce—but it only works if you treat salt, submersion and cleanliness with respect. Use a tested recipe, weigh everything, keep your mash under brine and trust your senses. Once you’ve made one good batch, you’ll have a reliable pattern you can tweak for years.